nms直接运行后,可以看到控制台输出打印
|
1 2 3 4 5 6 7 8 9 10 11 12 |
2019/12/05 21:54:55 [I] NMS Version:3.1.12 2019/12/05 21:54:55 [I] Copyright:©2019 NodeMedia. 2019/12/05 21:54:55 [I] Website:www.nodemedia.cn 2019/12/05 21:54:55 [I] Author:Chen Mingliang [illuspas@msn.com] 2019/12/05 21:54:55 [I] Build Time:2019.12.03.163435 2019/12/05 21:54:55 [I] Commit Hash:311fd18bf4c1896b94260f4cad290e064951208d 2019/12/05 21:54:55 [D] RLIMIT_NOFILE 10240 2019/12/05 21:54:55 [I] Machine ID:[587dcbb5885f3ca14e87fde14e01c36da31eff15bf37f86df2c0402f0e06be27] 2019/12/05 21:54:55 [I] Free trial, exprition date:2020-06-01 2019/12/05 21:54:55 [I] Node Rtmp Server start on port 1935 2019/12/05 21:54:55 [I] Node Http Server start on port 8000 2019/12/05 21:54:55 [I] Node Https Server start on port 8443 |
可以看到 rtmp服务绑定1935端口,http和https端口分别是8000和8443
1935作为rtmp的默认端口,可以在使用时不填写,比如
|
1 2 3 4 |
# ffmpeg 推流 ffmpeg -re -i INPUT.mp4 -c copy -f flv rtmp://server_ip/live/stream # ffplay 播放 ffplay tmp://server_ip/live/stream |
8000端口作为http-flv和websocket-flv端口,需要跟上端口号和.flv后缀
|
1 2 3 4 |
# ffplay 播放 ffplay http://server_ip:8000/live/stream.flv # html5 websocket播放 ws://server_ip:8000/live/stream.flv |
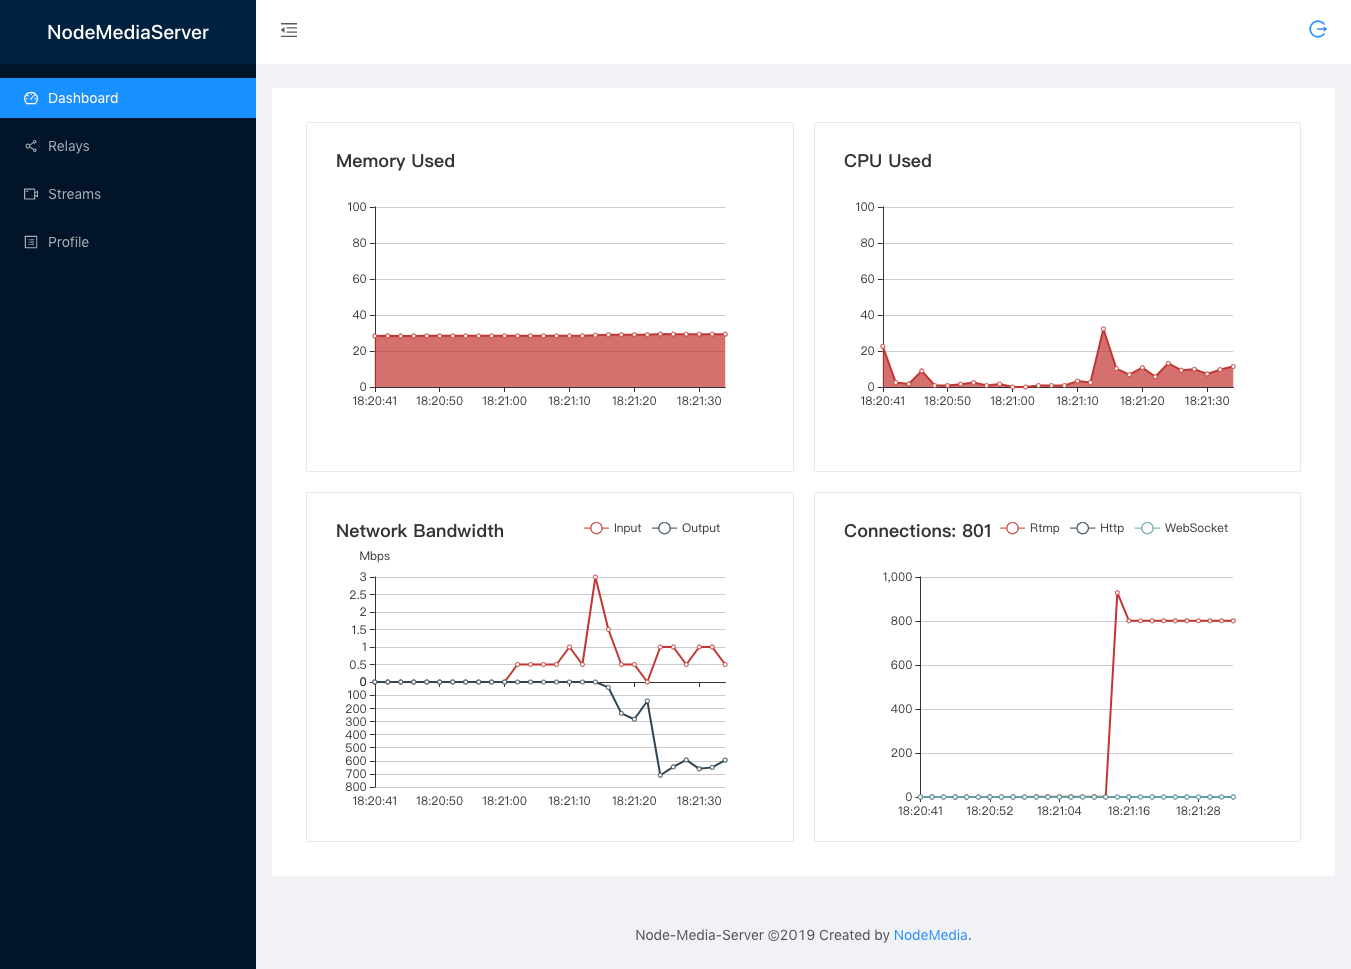
API接口和管理后台复用8000和8443端口,浏览器直接访问web后台
http://server_ip:8000/

原创文章,转载请注明: 转载自贝壳博客
本文链接地址: NMS v3系列教程之 三、基本使用
